
How to Vent Plumbing in a Basement Bathroom
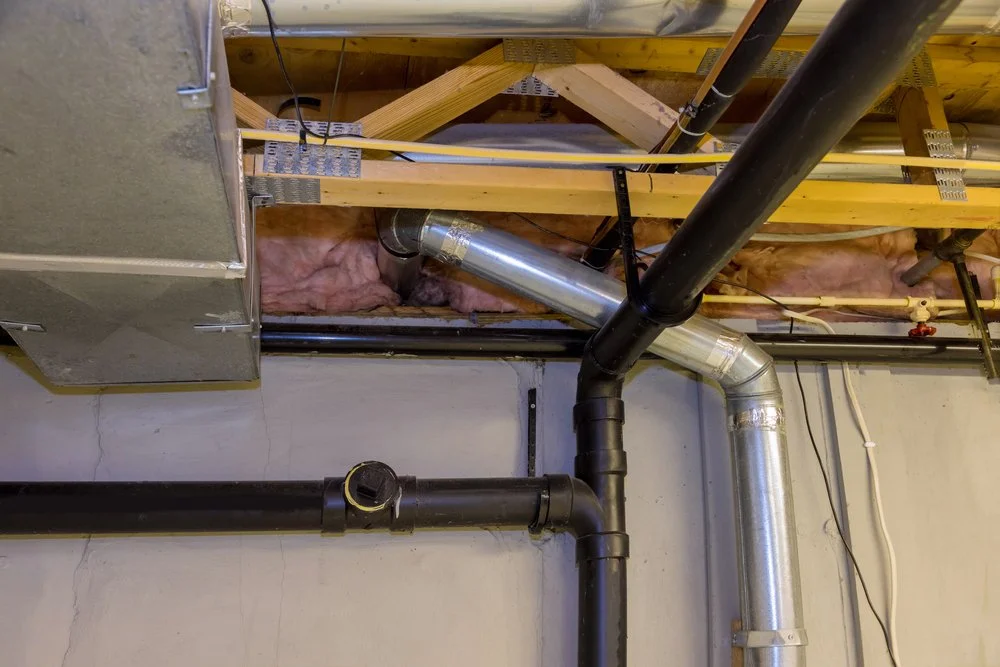
Adding a basement bathroom creates valuable living space and extra convenience for your home. However, running drain lines beneath ground level brings unique structural considerations. While getting water down to the main sewer line involves simple gravity, keeping that water moving smoothly without sewer gas backing up into your living quarters requires a properly installed plumbing vent system.
Plumbing vents allow air into drain pipes. Without adequate airflow, draining water creates a vacuum effect inside the lines. This vacuum sucks water out of the P-traps under your sink, shower, and toilet, letting unpleasant and hazardous sewer gas enter your home. Venting a basement bathroom presents distinct challenges because you are working below grade and must route pipe connections upward through existing walls and floors.
Understanding how air moves through a drainage system helps you plan your project correctly, and consulting with the experienced team at Apex Plumbing & Gas helps make sure your new basement space is built safely.
Why Basement Bathroom Venting Is Different
Above-grade bathrooms usually connect to vent stacks that travel directly up through nearby walls and out through the roof. Basement bathrooms sit at the lowest point of the home, which complicates line routing and air movement.
Distance to Main Stacks: The basement layout often puts your new bathroom fixtures several feet away from the main soil stack.
Low Ceiling Clearances: Running vent pipes across ceilings requires careful planning around floor joists, ductwork, and wiring.
Under-Slab Gravity Dynamics: Waste lines buried under concrete slabs need strong air pressure equalization to keep wastewater moving.
Ejector Pit Requirements: Bathrooms sitting below the municipal sewer line level must pump waste upward, requiring a dedicated vent line.
Common Methods for Venting Basement Bathrooms
Depending on your home's framing layout, local building codes, and proximity to existing vent stacks, several venting strategies can be used in basement applications. The specialists at Apex Plumbing & Gas can evaluate your home to choose the ideal strategy.
True Venting
A true vent involves running a dedicated vertical pipe from the fixture drain line upward through the walls until it ties into the home's main vent stack or exits through the roof. This option offers high long-term airflow stability and is accepted by all building codes. If you ever need on-site evaluation for complex pipe routes, consulting an experienced plumber in Madison from Apex Plumbing & Gas can help clear up structural questions before you start drilling through plates.
Wet Venting
In a wet vent configuration, a single pipe serves as a drain for one fixture (typically a bathroom sink) and simultaneously acts as the air vent for another fixture (such as a toilet or shower). Wet vent lines must be sized larger than standard drain lines so air can pass along the top while liquid flows along the bottom. Homeowners searching for skilled plumbing services in Gluckstadt often lean on professional advice from Apex Plumbing & Gas to verify these pipe diameter calculations before laying concrete.
Air Admittance Valves
An Air Admittance Valve (or mechanical vent) is a one-way valve designed to let air into the plumbing system when negative pressure occurs. When water drains down the line, the valve opens to pull in fresh air, neutralizing the vacuum. Once water stops flowing, gravity closes the seal to keep sewer gas trapped inside the pipe. AAVs must be installed vertically and kept accessible for future inspection.
Important Note: Local building codes vary regarding mechanical vents. Some municipalities permit AAVs on sinks and showers but restrict them on toilets, while others require at least one open-air vent extending through the roof for the entire structure. The technicians at Apex Plumbing & Gas can verify local codes for your neighborhood.
Sewage Ejector Pit Venting
When your basement fixtures sit below the main municipal sewer line, waste flows into a sealed sump basin equipped with a pump. Sewage ejector pits require a dedicated vent line running from the sealed lid directly out through the roof or tied into the main stack. Mechanical valves are generally not permitted on sewage ejector pits because air must be allowed to push out of the sealed tank as waste enters.
Core Planning Rules for Plumbing Vents
To maintain proper drainage velocity and pass code inspections, every vent installation handled by Apex Plumbing & Gas follows essential piping rules:
Maintain Vertical Rise: Vent lines should run vertically or at a minimum 45-degree angle above the drain line until reaching a point at least 6 inches above the flood rim of the highest fixture.
Mind Trap Distances: Building codes strictly regulate the maximum distance allowed between a P-trap and its vent connection (typically 42 to 48 inches for a standard sink).
Slope Horizontal Runs: Horizontal sections of vent pipe must slope upward toward the roof connection at a rate of at least 1/4 inch per foot to prevent condensation buildup.
Use Correct Pipe Sizes: Sinks typically require a 1.5-inch vent line, while toilets and wet-vented bathroom groups require at least a 2-inch vent line.
Essential Tools and Materials
Before starting a basement plumbing project, Apex Plumbing & Gas recommends gathering the proper supplies needed for working with PVC pipe, concrete, and framing walls:
Schedule 40 PVC or ABS pipe (1.5-inch and 2-inch diameters)
Sanitary tees, long-sweep elbows, and wye fittings
Solvent cement, purple primer, and pipe hangers
Hole saws, reciprocating saws, and spirit levels
Dust masks, eye protection, and work gloves
Step-by-Step Overview of the Installation Process
Installing a basement bathroom vent system requires systematic planning, especially when tied into underground drainage lines.
Layout and Concrete Work
Mark the locations of your toilet, vanity sink, shower, and ejector pit on the concrete floor. Determine the exact path for both your underground drain pipes and overhead vent connections. Break out the concrete slab using a jackhammer or saw to lay your drain lines, wyes, and vertical vent risers beneath the floor level.
Framing and Vent Connections
Install sanitary tees where vertical vent lines connect to horizontal drain arms. Extend PVC vent pipes up inside framed wall cavities, routing through top plates or closets to reach upper levels. Join individual fixture vent lines in the ceiling space using inverted wyes or sanitary tees, keeping horizontal runs sloped correctly back toward the drain.
Final Tie-In and Testing
Connect your completed basement vent loop into the home’s main vent stack at least 6 inches above the overflow level of any upper-floor fixtures. Cap the system and perform a water or air pressure test to confirm that all solvent-welded joints are completely gas-tight before closing up walls or pouring fresh concrete.
Professional Support for Your Basement Remodel
Properly venting a basement bathroom involves balancing hydraulic principles, structural framing constraints, and local plumbing code rules. Mistakes in vent sizing or placement can lead to slow-draining showers, noisy gurgling sinks, or dangerous sewer gases escaping into your finished basement living area.
Apex Plumbing & Gas offers complete residential service, helping homeowners build safe, functional basement spaces that last. Getting expert assistance from Apex Plumbing & Gas early keeps your project moving on schedule and within code standards.
Contact Apex Plumbing & Gas today to discuss your basement remodel plans, review local building requirements, or request a service estimate for your home!